Basics of Vocal Tuning using Pitch Correction Plugins
Over the last decade, people everywhere are now accepting the use of vocal tuning using pitch correction as part of the music production process.
Other processes like drum quantization are now used more. Audio engineers, especially from our studio (Mr. Mix and Master) and music fans have become accustomed to using and hearing vocal tuning and drum quantization in songs.
The vocal tuning process is meant to help audio engineers and producers to achieve the best sound they can from the tracks they are working on. Unless they are trying to create something like a deliberate effect, then they don’t want the vocal tuning proves to be noticed in the final mix. To help you out, here are the basics of vocal tuning we use at Mr. Mix and Master Studio.
Getting started with vocal tuning plugins.
There are different plugins you can use for vocal tuning using pitch correction. There is Melodyne, auto-tune and waves tune among others. You can tune with all of them if you want, but the most commonly used is Melodyne and Auto-tune. Many engineers have several different ones to compare which sounds better and in what situation.
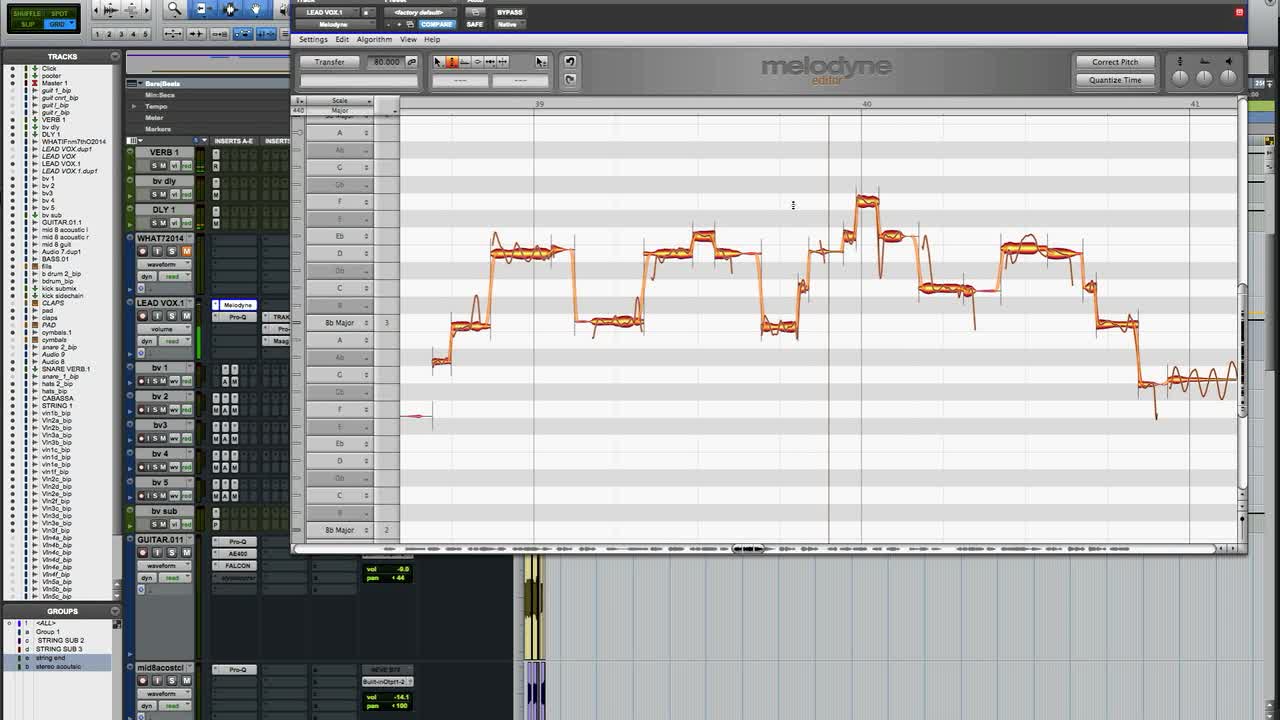
With Melodyne, before you start your pitch correction process, you need to select your track and transfer it to Melodyne. Melodyne uses monophonic detection that tells you what detection algorithm it’s using. Depending on the version you have, Melodyne can analyze things monophonically, polyphonically or percussively. So before you transfer, go to the algorithm tab and choose by default whatever you want to track to be. By default will automatically determine the melodic with vocals.
Another thing with Melodyne is you can use the space bar to play your session. You need to double click on the top toolbar to play the section you want it to play and use the space bar to stop. To adjust the tuning of notes and to select notes is the main tool. Click it, and you will see other multiple tools in between. To zoom in you need to hover over to the left or right side of your scrollbar, and you can also pull in and pull out. Also, the note assignment is a helpful tool you need to use. It will tell you 2 locations, and you can use it to correct the pitch.
For pitch correction here are things you need to take into consideration.
Make sure to use the performance itself first: before applying any pitch correction, transfer the original version and try to keep the performance as natural-sounding as possible.
A little correction goes a long way. As long as the Melodyne has a choice, you can use the correct key and other notes. The fewer notes you correct, the better.
Try and use the precise mode: for instance, Auto-tune modes are designed to make things turnkey. This is not enough for most applications. Instead, you can use graphical mode to achieve what you want.
Print the pitch correction. Don’t leave the pitch correction patched in. Printing the corrected pass will eliminate problems that occur if it is moved to a different DAW and saves your precious system resources.
The tips above will not only help you fine tune your vocal and they will go a long way to making your music sound better. It will take your track to another level. Check us out at https://mrmixandmaster.com/ and get more interesting information about vocal tuning.